

TABLE OF CONTENTS:
- What is a G10 Knife?
- What is G10?
- Why we use G10, its limitations and advantages
- Who this information is for and legal disclaimer
- Carry Tips and concealment principles
- Metal detector vs body scanner vs Xray
- How these tools are made
What is a G10 knife
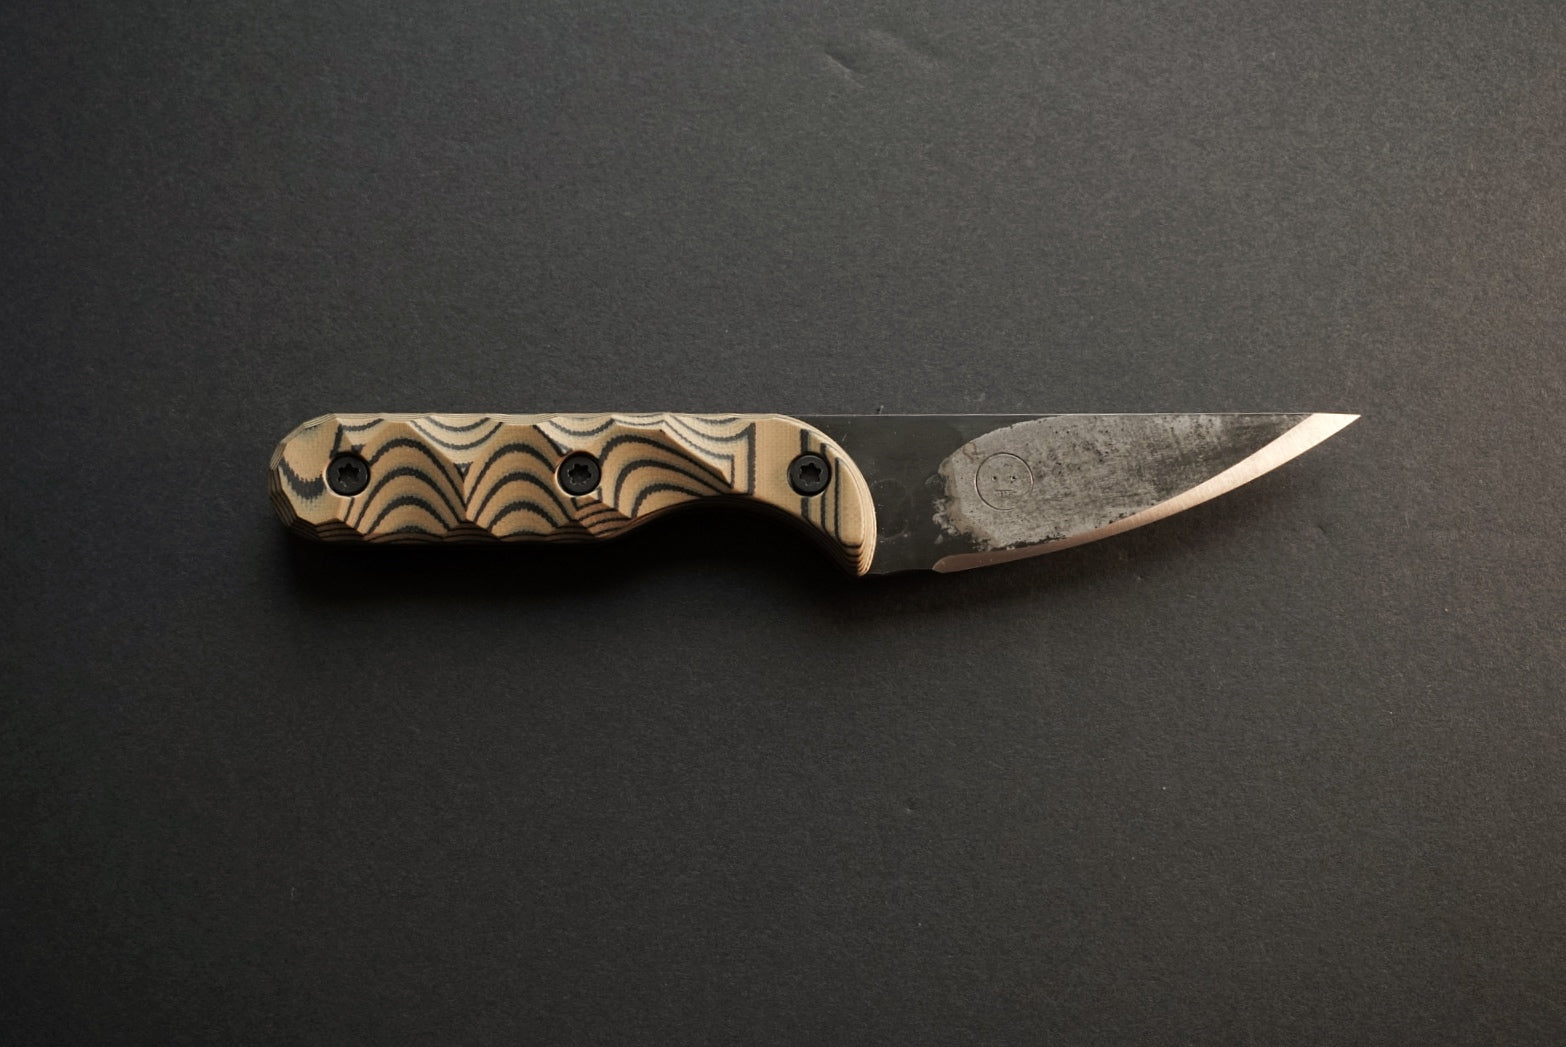
A G10 knife is a "knife" made out of G10. These are self defense tools that have the unique ability to get past metal detectors. In this article I will share why we choose G10, how to carry and conceal these tools and how we make them. These tools can be a bit controversial, I'll just say this: Every human has the right to self defense, regardless of if governments, institutions or fellow humans recognize those rights.

What is G10?
G10 is a composite material made from layers of fiber glass that are impregnated with epoxy resin and cured under pressure. The result is a tough, inert material that is easy to machine and work with (although the dust is hazardous to breath). These qualities make it an ideal material for knife handle scales. G10 is also non-metallic which puts it in an exclusive category of hard and tough materials that aren't detectible by metal detectors.

Why we use it, limitations, advantages
While G10 is tough, it doesn't hold a candle to even the most basic knife steels, or even mild steel for that matter. But of the non metallic materials, it is one of the, if not the best option for this category of self defense tools. We use the term "knife" fairly loosely with G10 knives. These are point driven tools, there is an edge on these knives but not in the same way as a steel knife. Think of these tools as shanks, they aren't for daily utility, rather tools that get places most others can't for the purpose of preserving life.

People also choose to use these tools where metal detectors are not a factor. Because of their light weight and waterproofness, they make a great workout companion, throw it in the waistband of your running shorts, swim trunks or in your sock. You may forget you are carrying it at all.

Some people choose to carry these tools daily in conjunction with a pocket knife. The pocket knife is for utility tasks and the concealed G10 knife is for self defense.
Who this information is for and legal disclaimer
I am not giving you advise, legal or otherwise. I am not responsible for how you choose to use these tools. It is your responsibility to understand the law and to use these tools responsibly. These tools are made for people who are interested in preserving life and self defense. If you carry these tools, or any weapon for that matter, you have a responsibility to avoid conflict and de-escalate situations. I am sharing this information to inform the people who want to take responsibility for their own safety, but also to highlight that these tools exist and that just because a "weapon free zone" exists, doesn't mean that it's actually free of weapons. Criminals know this stuff, and it's good to know the reality of this world. No one is coming to save you.
Carry tips/ concealment principles
Whenever you choose to carry your G10 knife these carry tips and concealment principles may come in handy. There are three main carry methods that I have seen. First is the plastic clip, each of my G10 knives now comes with a clip attached to the sheath. This can be easily attached to a belt, waistband, underwear, pocket... While this is very convenient it also adds bulk, which can make it harder to conceal. I like to clip a g10 knife to my jersey pocket on bike rides.

The second method utilizes a static line, basically some piece of cordage that links the sheath to some article of clothing. This method has proven to be very comfortable and surprisingly secure for me over the years. When I am wearing jeans I attach the cordage to my pants button so that it is hidden behind the outer layer of material. You can also tie to a belt loop but this option is less hidden. In gym shorts I will attach the cordage to the draw string. I often tuck the knife in the waistband of my underwear so that there is constant pressure keeping the tool in place. This method may not be ideal if you are moving around a lot, I find that using the static line serves me best when extra concealment is needed and I will be mostly stationary.

The third method is to attach the tool to the outside of your belt using shock cord or a bit of paracord. This option offers a convenient and comfortable carry but it does sacrifice concealment. This method is a great option for someone who doesn't want those around to see the tool (shirt covers it) but doesn't need to go through any serious security checkpoints.

There are infinite carry methods and I encourage you to test what works best for you. Like they say, it ain't stupid if it works.
Now for some practical advice for getting these tools past security checkpoints.
First, prepare yourself mentally and plan to go through an intensive checkpoint. Confidence, demeanor and cheerfulness can get you a long way. Think like a security professional, how would you profile a potential bad guy. Shifty, won't make eye contact, stands out from the crowd... Blend into your environment, you want to be utterly forgettable, a homogenous speck in the crowd. Laugh and joke with the people you are with, social engineering is a powerful tool.
As for how to manage the tool on your person, prepare for a thorough visual inspection. I prefer to tuck the tool into my underwear and push it below my pants, so that if I needed to lift my shirt, only my pale gut would be visible. Some checkpoints make you remove your belt too. If you had a tool wrapped around the belt that would be a sticky situation. Looser fitting clothes also make it easier to hide things on your person. For anyone who has carried a gun in their waistband you already know this.
Before entering the line for a checkpoint, assess the procedures from far away. Look for what the security is doing, is there a person that is searching people intensely, is there an apathetic person just waving people through in another line? Go with the path of least resistance.
After you get inside the venue you can make a trip to the bathroom and readjust your knife for comfort and quick access should you need it.
Metal detector vs. body scanner vs. Xray
Metal detectors and body scanners at the airport are two completely different animals. A body scanner and Xray machine will 100% detect G10 knives and any other dense material on your person. Do not carry a G10 tool at the airport. Metal detectors on the other hand, only pick up on metals but can be set to different sensitivities. At a sporting event, for example, they probably have the detector set a bit lower so that every belt buckle doesn't set it off.
How it's made
We start with a sheet of G10 and load it onto the CNC router, the program cuts out the shape, mills the bevel and engraves the logo. I can talk about the 3D modeling and machine programming side of this if people are interested, but I imagine only a few people would be interested in that rabbit hole.

After the machine is done we can take the knives to the table router where we round the sharp edges of the handle.

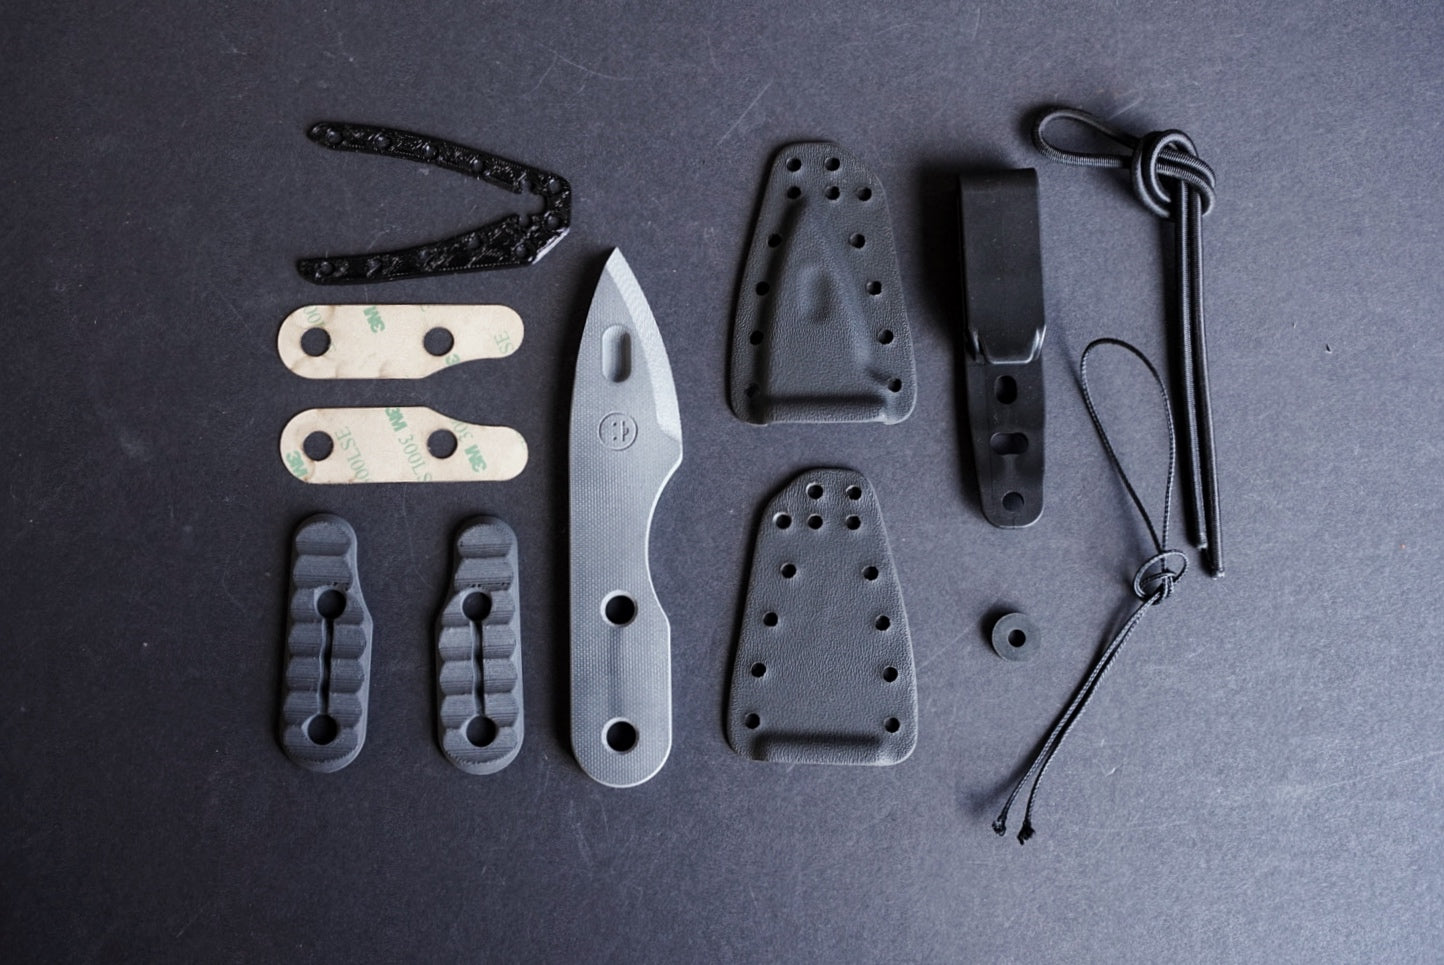
Next we move to the media blast to give the tool a uniform finish. The scales and sheath insert are 3D printed then sand blasted before assembly. Each scale is attached to the G10 knife with a strong 3M double sided adhesive and a bit of cordage for extra security. The adhesive is cut out on our laser before being attached to the scale.


We use custom jigs to align the scales with the knife. Once the cordage is tied, trimmed and the knot super glued for security, the g10 blade is complete. The final step is to attach the red "remove before flight" tag with some metal hardware. We do this to adhere to certain laws that restrict the sale and purchase of non-metallic knives, you can remove this tag and hardware to make the knife completely non-metallic. Now we need to make the sheath.

We start with a sheet of kydex, heat that up with a t-shirt press then vacuum form it around our HDPE mold (designed and made in house on our CNC router) and cooled with compressed air. Next, we drill the holes with handheld drills and cut out the rough profile on the band saw. Next, we use more 3D printed molds and a table router with a flush trim bit to get the precise profile of the two-piece sheath. Next, we buff the edges of the sheath.


Now the sheath is ready for assembly, we cut our shock cord to length and thread it through the two kydex pieces sandwiching the 3D printed insert between them (the insert protects the shock cord and helps guide the knife into the sheath). We thread the plastic clip in place and tie the shock cord, completing the sheath. Now the G10 knife is ready to be boxed up and sold.


Thanks for reading! If you have any questions, feel free to reach out over on Instagram or through email. Carry On!

Leave a comment
This site is protected by hCaptcha and the hCaptcha Privacy Policy and Terms of Service apply.